Generate Your API Key
Your first step is to obtain an API key from the EigenExplorer Developer Dashboard.Begin by visiting the EigenExplorer Developer Dashboard and logging into your account.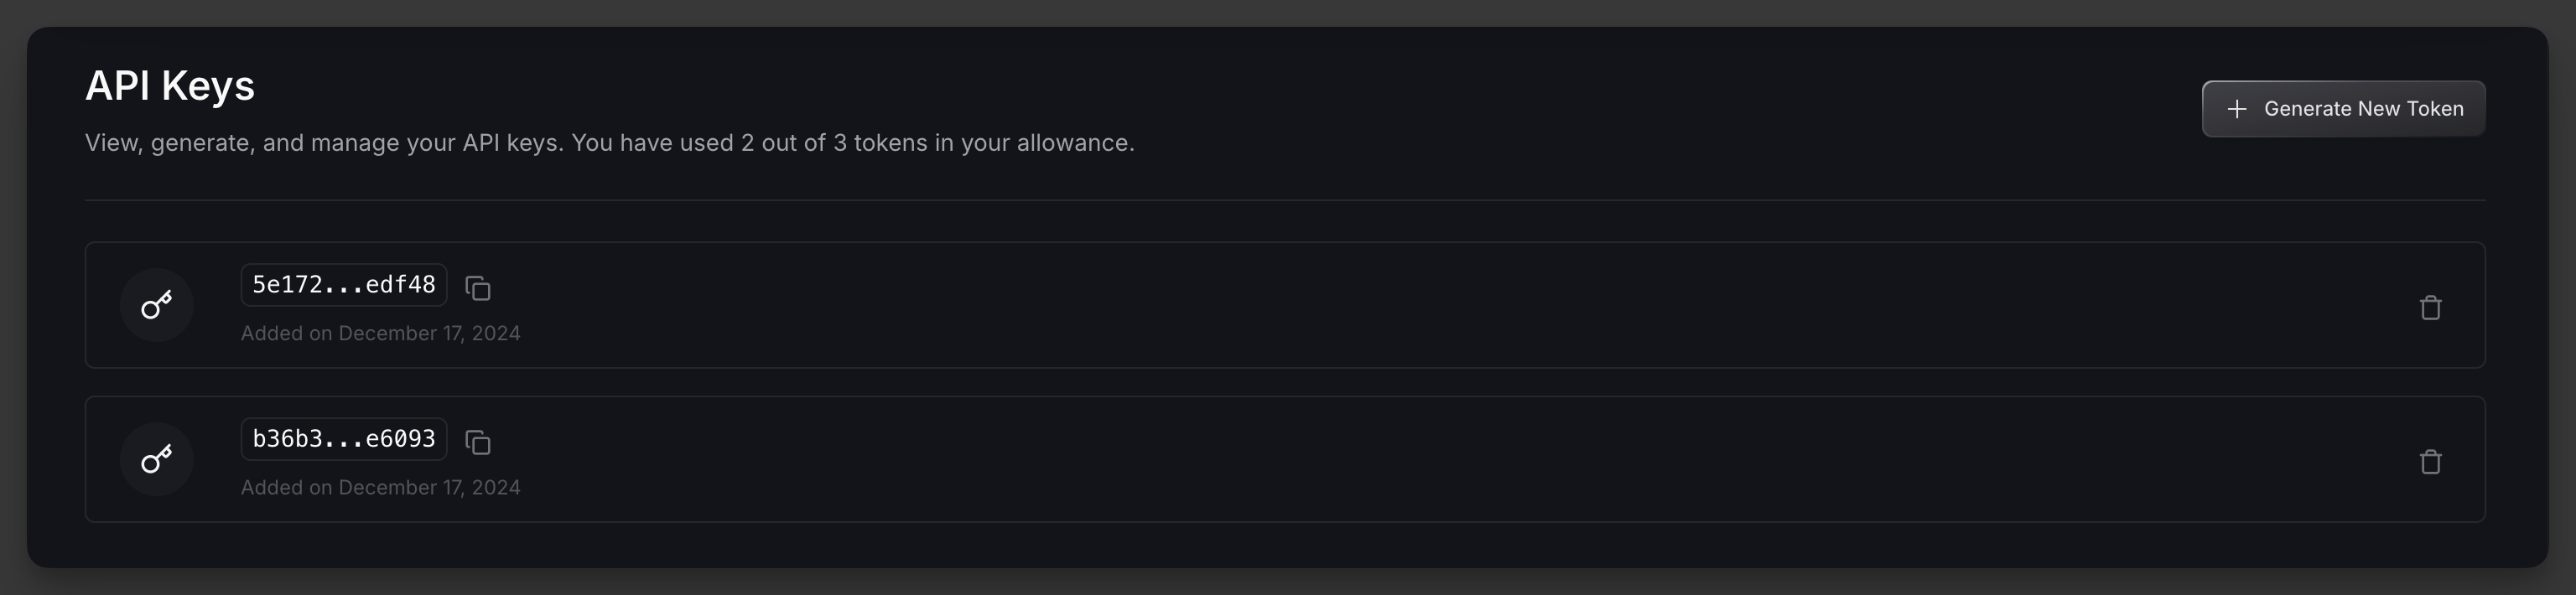
Configure Your Base URL
After obtaining your API key, you’ll need to select the appropriate base URL for your needs. The base URL you use will depend on which network you want to interact with:
-
For accessing the Ethereum Mainnet, please use:
https://api.eigenexplorer.com -
For accessing the Holesky Testnet, please use:
https://api-holesky.eigenexplorer.com
https://api.eigenexplorer.com/avsFor more information, please visit here.Set Up Authentication
To authenticate your requests, you’ll need to include your API key in the header of each request.Add an
x-api-token header to your requests, with the value being your API key.Here’re a few examples using cURL, JavaScript, and Python:Next Steps
After completing your initial setup, you are good to go!Feel free to poke around the available API endpoints or learn about the rate limits to ensure optimal API usage.